|
|
PSP Tutorials >
Flashing Sign Using Snowdrift Font & EyeCandy Pt.1
14 Sep 2002
Download "Snowdrift Font" ( © Agfa Division Of Bayer Corp. )
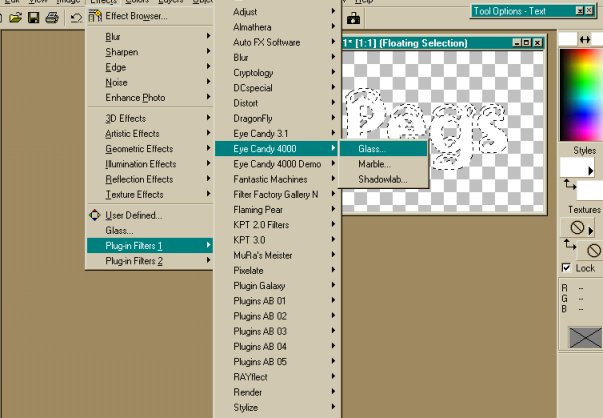
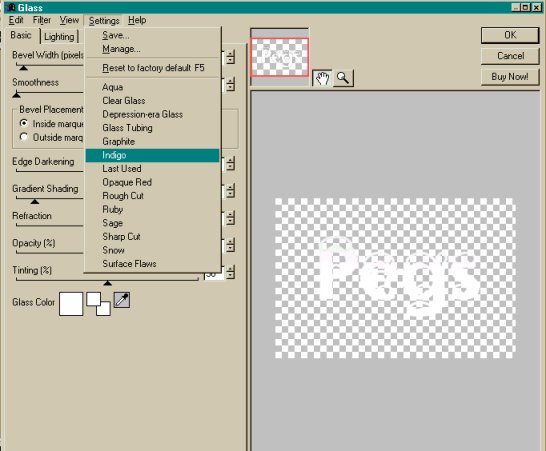
Step one: Make a NEW image, 400x400 (it will be cropped later). Go to text tool, click on it, & choose the Snowdrift font. For this tut, I used font size 72. Stroke & fill are both white. Anti-alias & floating checked. Type in your text. Click OK. Leaving the text 'selected' (the marching ants), go to Effects Tab/PlugsInFilters/EyeCandy4000/Glass. Choose 'Indigo'. This came with my PSP7, Anniversary Edition.
Click ok.
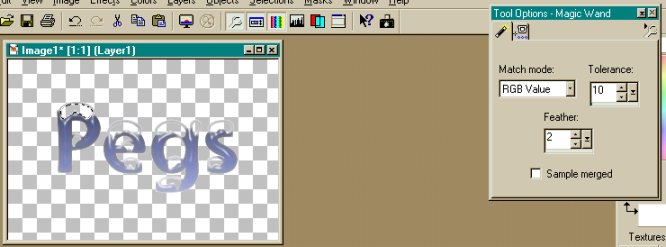
Now go to "selections Tab (in PSP) & "Select None". Go to your Magic Wand Tool & use the following settings. Click inside each blank area (the 'snow'). Hold your SHIFT key down as you click & it will all stay selected as you go along.
Flood Fill with White. Go back to EyeCandy/Glass & choose "Glass Tubing" (in this screen shot, the preview showed the previous setting of "Indigo". Don't worry - it won't stay this way!Click Ok.
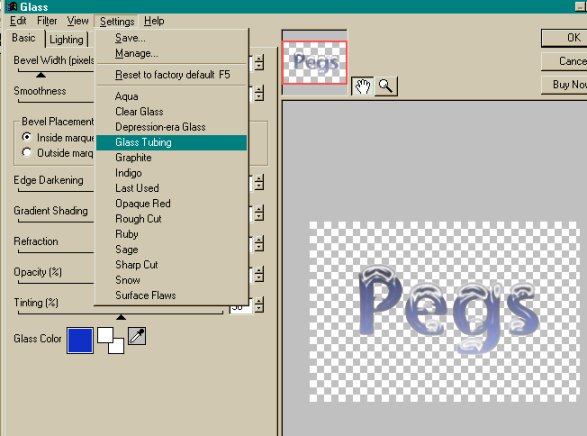
NOW, with the "snow" still selected, go back to EyeCandy/Glass & select "Rough Cut". Click OK. Go To Selections Tab & "Select None.
Here is where you will CROP to make as much background as you want the final image to have.
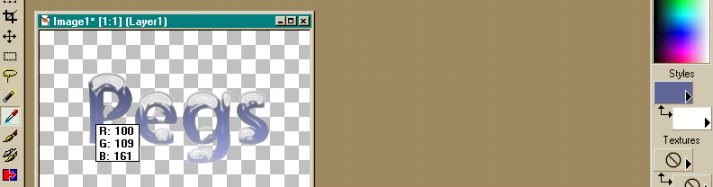
Make a new Raster Layer. Go to Layers Tab/Arrange/Send To Bottom. Take your Dropper Tool & place your cursor over a shade you like from the image, to be used as your background color. Left click your mouse to choose it. Now, Flood Fill this bottom layer with that color.
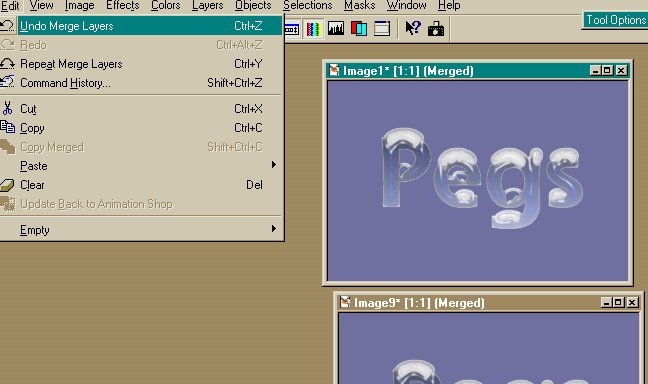
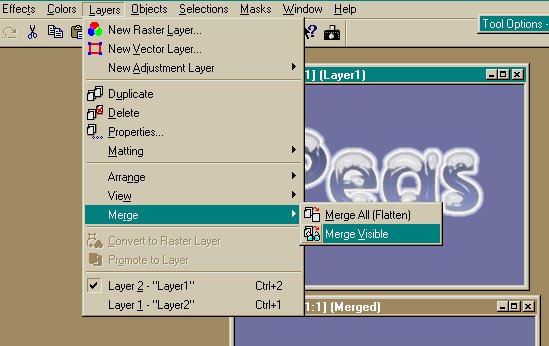
Go to Layers Tab/Merge/Merge Visible. You can also MergeAll(flatten) if you prefer.Now, RIGHT CLICK on your image/Copy. RIGHT CLICK on the PSP screen/Paste As New Image. (If you're wondering, images 2-8 are these screen shots, lol). NOW, click on the original image (to activate it), go to Edit Tab & UNDO MERGE LAYERS.
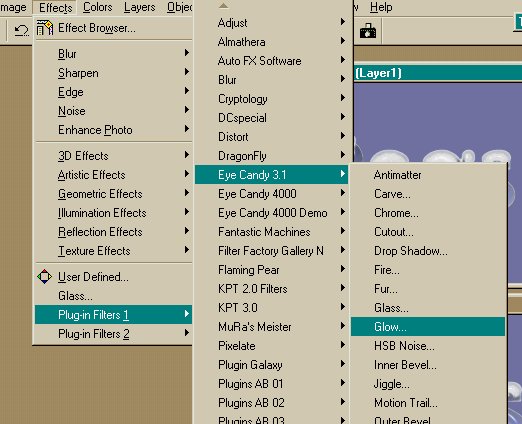
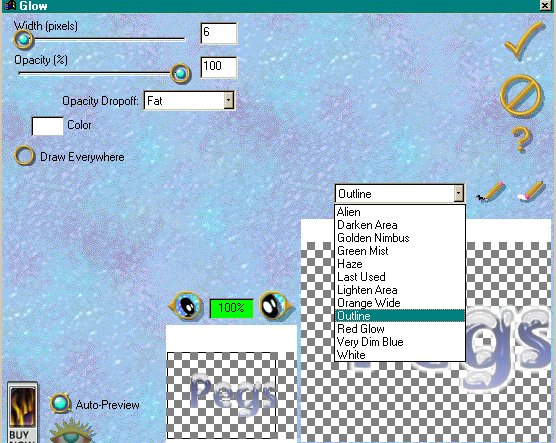
Go to Layers Tab/Click on top Layer (this is your text layer). Go to Effects Tab/EyeCandy3.1/Glow. Nothing needs to be selected for this step! Choose the OUTLINE Effect. Click on the Check Mark.
Go to Layers Tab & Merge/Merge Visible/All (your choice).
NOW is when you will save your images. Go to File Tab/Save As. I saved mine in .jpg format for convenience & size. You can also save in .gif or .psp format. Name them so the NON-glowing image is #1.
We are now ready to go to Animation Shop! On to Pt.2!
Your Genial Hostess (Pegs)
|
|
|
|
